
Imagine unboxing your brand-new 3D printer, feeling like a kid on Christmas morning. But wait—before diving into a world of endless possibilities, there’s a tiny hurdle: installation. Don’t worry; it’s not rocket science, though it might feel like it when staring at that pile of wires and parts.
Understanding 3D Printer Installation
Successful installation of a 3D printer affects its performance and longevity. Following the steps carefully ensures optimal results and minimizes troubleshooting.
Importance of Proper Installation
Correct installation significantly influences print quality, reliability, and printer lifespan. Users notice that well-aligned components reduce maintenance needs. Quality installations enhance adhesion, minimizing common printing issues. A printer installed incorrectly may lead to warped prints or failed jobs, resulting in wasted material. Efficiency improves with a properly set up machine, saving time and resources. Adjusting bed leveling and ensuring proper software configurations are also essentials for achieving optimal performance.
Common Pitfalls to Avoid
Many users overlook the importance of updating firmware before installation. Skipping this step may lead to functionality issues or bugs. Incorrect bed leveling remains one of the most frequent errors encountered; checking this detail before printing is crucial. Users frequently underestimate the significance of ambient temperature, which can affect print quality. Ignoring cable management can result in tangling or damage to wires, impacting the printer’s response. Lastly, neglecting to read the manufacturer’s manual may lead to unnecessary complications during setup.
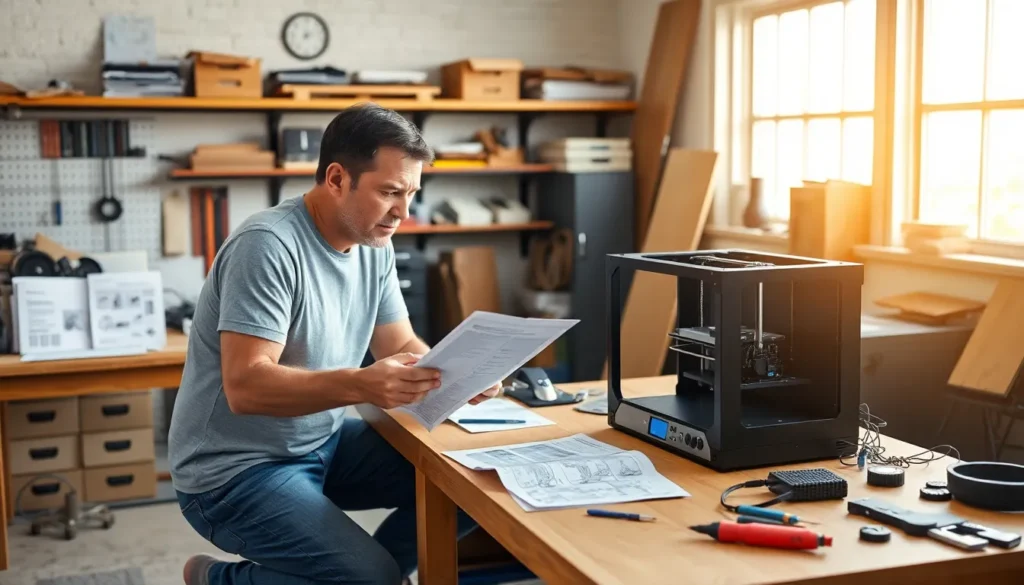
Preparing for Installation
Preparation sets the stage for a smooth installation of the 3D printer. Taking the right steps ensures that everything runs efficiently.
Required Tools and Materials
Gather essential tools and materials before starting installation. Typical necessities include a screwdriver, a utility knife, and a level. Filament, power cables, and user manuals play important roles during setup. An anti-static wrist strap helps protect electronic components. Checking that all parts are included in the box prevents delays later on. It’s also wise to have a clean, organized workspace to keep components accessible.
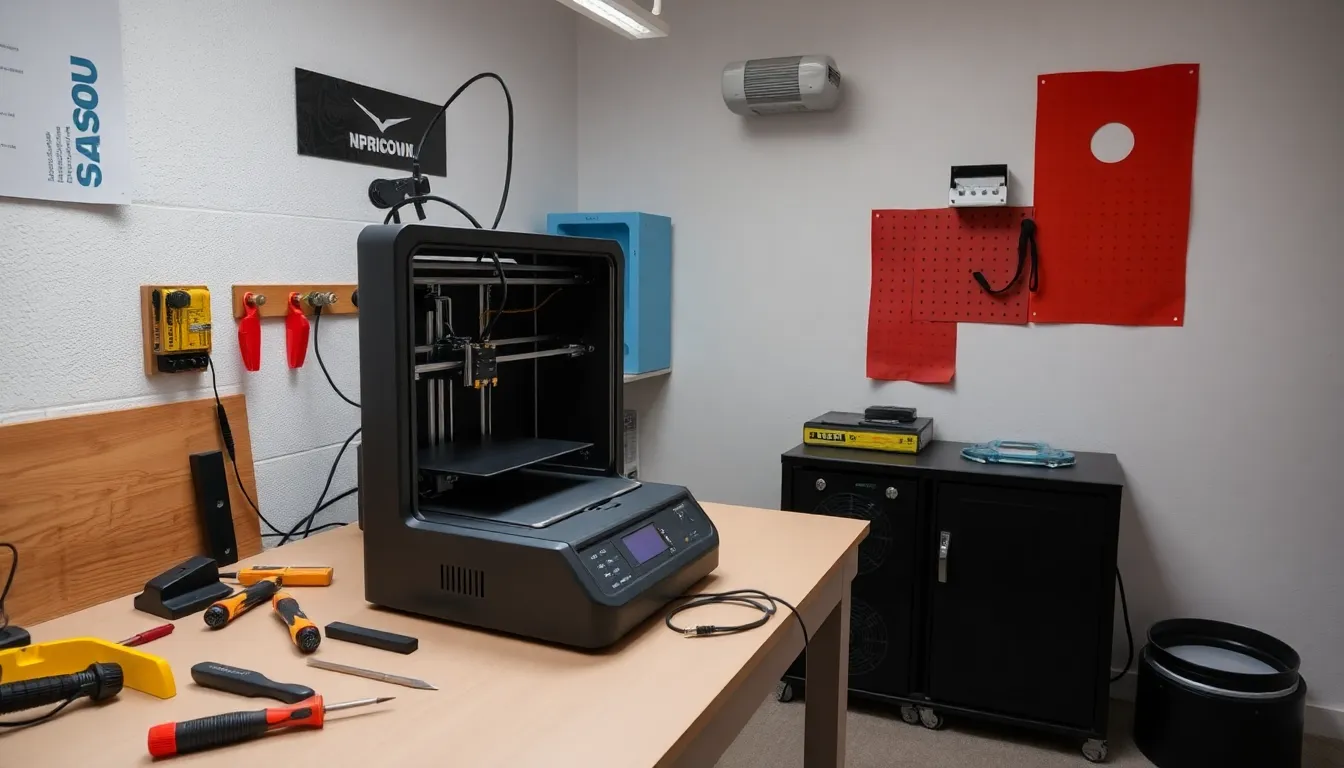
Choosing the Right Location
Selecting the correct location for the 3D printer proves crucial. An area with sufficient ventilation enhances safety by reducing fumes from heating processes. Light and power availability support efficient operation, as printers often require ample lighting to monitor prints. Having a stable, flat surface minimizes vibrations, ensuring precision. Consider the proximity to a computer or network connection for easy file transfers. Ample space around the printer allows for comfortable access and maintenance.
Step-by-Step Installation Process
Installation involves several key steps that ensure successful operation. Follow these guidelines closely for best results.
Unpacking the 3D Printer
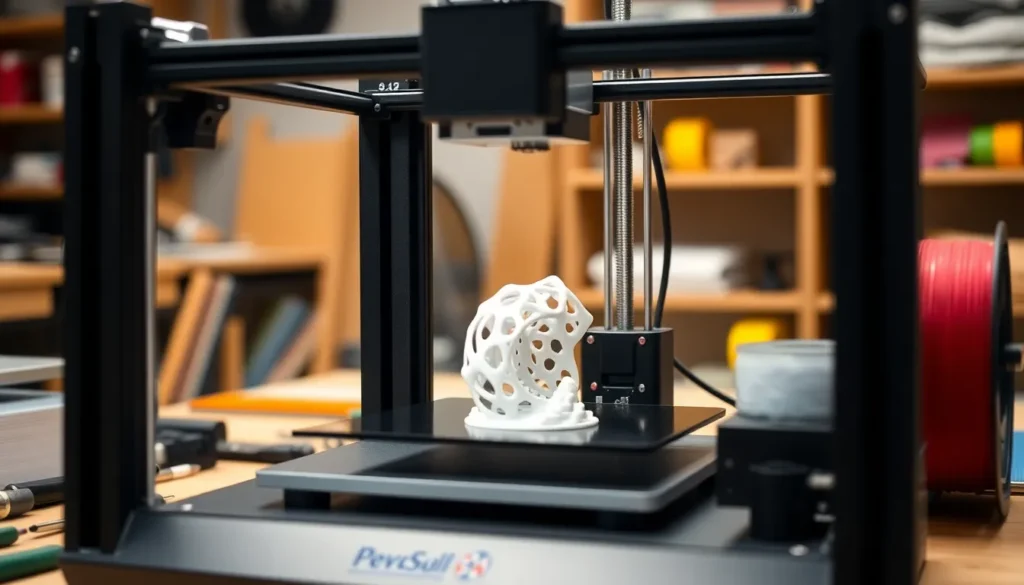
Unpacking starts with removing the outer packaging and inspecting for visible damages. Carefully take out the printer and all included accessories like power cables and user manuals. Place components on a clean, spacious surface to avoid losing parts. Check against the packing list to confirm that all items are present. Handling each piece gently reduces the risk of damage, ensuring everything is ready for assembly.
Assembling Key Components
Assembling key components begins with referring to the manufacturer’s instructions. Start by securing the frame, ensuring all screws are tightened properly. Attach the build plate and print head while aligning them according to the guides provided. Cable management is crucial; organize cables to prevent tangling and interference with moving parts. Installing the filament holder and connecting any necessary wiring finalize this stage. A well-assembled printer enhances overall performance and reliability.
Setting Up Software
Setting up software requires downloading the latest version from the manufacturer’s website. After installation, connect the printer to the computer via USB or Wi-Fi. Configure printer settings within the software according to specific parameters like bed size and nozzle diameter. Upload any test models to ensure proper communication is established. Making necessary adjustments now saves time later and enhances print quality.
Troubleshooting Common Issues
Common problems can occur during 3D printer installation. Addressing these issues swiftly can enhance the overall performance and user experience.
Calibration Problems
Calibration problems often arise during installation. Incorrect bed leveling can lead to inconsistent print quality. To avoid this, users should ensure that the print bed is perfectly level before starting any print jobs. Some 3D printers feature automatic bed leveling, which simplifies this process. For those without this feature, manual adjustments are necessary. Both nozzle height and filament extrusion require careful calibration as well. Inadequate nozzle clearance may cause the filament not to adhere properly, resulting in excessive warping. Regular checks and adjustments of these settings guarantee optimal results.
Connectivity Issues
Connectivity issues can disrupt the printing process significantly. Many 3D printers connect via USB or wireless network. Ensuring that the printer’s drivers are installed correctly is crucial. Users should also verify that the printer and computer are on the same network for smooth connectivity. Sometimes, outdated firmware may lead to communication failures. Regular updates can remedy these problems and improve overall functionality. If persistent connectivity issues occur, checking cables and connections should be the next step. Examining these elements can often uncover simple fixes that restore seamless operation.
Successfully installing a 3D printer sets the foundation for an enjoyable and productive printing experience. By following the outlined steps and avoiding common pitfalls, users can ensure their printer operates at its best. Taking the time to prepare and understand the installation process not only enhances print quality but also extends the printer’s lifespan. Emphasizing careful setup and maintenance can lead to fewer frustrations down the line. With the right approach and attention to detail, anyone can confidently embark on their 3D printing journey and unlock the full potential of their machine.