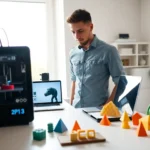
3D printing for beginners can feel overwhelming at first glance. The technology, the machines, the materials, it’s a lot to take in. But here’s the good news: getting started is easier than most people think. This guide breaks down everything a newcomer needs to know, from understanding how 3D printers work to completing that first successful print. Whether someone wants to create custom parts, prototype inventions, or just make cool stuff, 3D printing offers endless possibilities. Let’s immerse.
Table of Contents
ToggleKey Takeaways
- 3D printing for beginners is easier than expected—start with an affordable FDM printer in the $200–$400 range for the best experience.
- PLA filament is the ideal starting material because it prints at lower temperatures, produces minimal odor, and forgives beginner mistakes.
- Proper bed leveling is the most critical step; incorrect leveling causes more failed prints than any other issue.
- Choose a printer with strong community support, like the Creality Ender 3, so troubleshooting help and upgrades are readily available.
- Start with simple test prints like calibration cubes before attempting complex designs to build essential skills.
- Store filament in airtight containers with desiccant to prevent moisture damage that degrades print quality.
What Is 3D Printing and How Does It Work
3D printing transforms digital designs into physical objects. The process builds items layer by layer, stacking thin slices of material until the complete shape forms. This method is called additive manufacturing because it adds material rather than cutting it away.
Most consumer 3D printers use a technology called FDM (Fused Deposition Modeling). Here’s how it works: a plastic filament feeds into a heated nozzle. The nozzle melts the filament and deposits it onto a build plate. The printer head moves according to instructions from a digital file, drawing each layer precisely. Once one layer cools slightly, the next layer goes on top.
The digital files come from 3D modeling software or download sites like Thingiverse. These files get processed through a “slicer” program that converts the 3D model into specific instructions the printer can follow. The slicer determines layer height, print speed, and how much material to use.
3D printing for beginners often starts with FDM printers because they’re affordable and straightforward. Other technologies exist, like resin printing, but FDM remains the most popular entry point for hobbyists and makers.
Choosing Your First 3D Printer
Selecting the right 3D printer matters more than most beginners realize. The wrong choice leads to frustration. The right one opens doors to creativity.
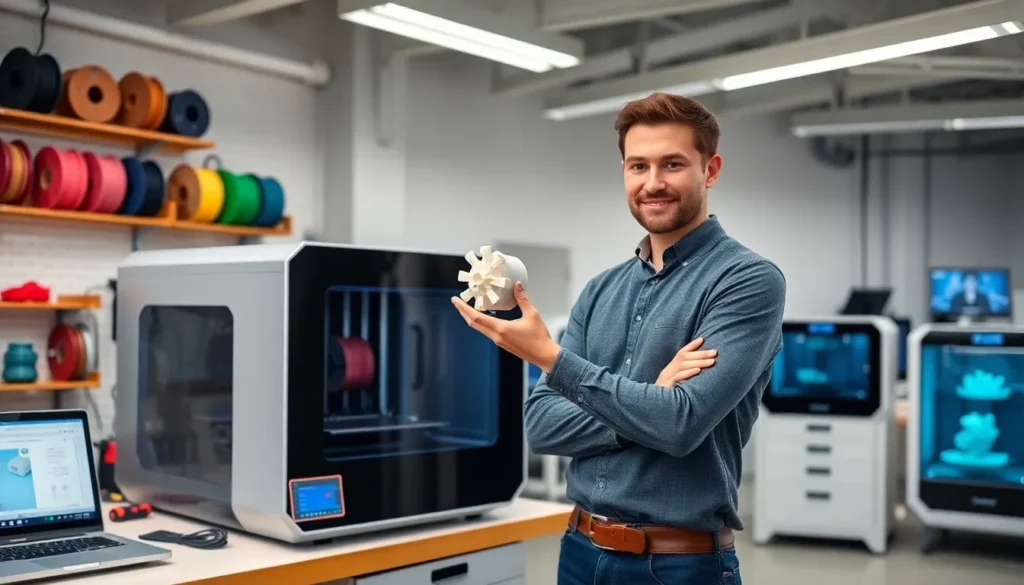
For those new to 3D printing, budget FDM printers between $200 and $400 offer the best starting point. Popular models include the Creality Ender 3 series, Anycubic Kobra, and Elegoo Neptune. These machines provide reliable performance without very costly.
Key features to consider:
- Build volume: This determines how large objects can be. A 220mm x 220mm x 250mm build area handles most beginner projects.
- Auto bed leveling: This feature saves hours of frustration. Manual leveling works but requires patience and practice.
- Heated bed: Essential for printing popular materials like PLA and PETG. Most printers include this standard.
- Community support: A large user community means easy access to troubleshooting help, upgrades, and modifications.
3D printing for beginners becomes much smoother with a well-supported printer model. When thousands of users share tips and solutions online, problems get solved faster.
Avoid the cheapest options under $150. These printers often lack quality control and create more headaches than savings. Similarly, don’t overspend on professional features that beginners won’t use immediately.
Essential Materials and Filaments
Filament choice affects print quality, durability, and ease of use. Beginners should start with PLA (Polylactic Acid) before experimenting with other materials.
PLA prints at lower temperatures (190-220°C) and doesn’t require an enclosed printer. It produces minimal odor and sticks well to most build surfaces. PLA works perfectly for decorative items, prototypes, and learning the basics of 3D printing.
PETG offers better durability than PLA. It resists heat and chemicals more effectively, making it suitable for functional parts. PETG requires slightly higher temperatures (220-250°C) and can be stringy if settings aren’t dialed in.
ABS provides strength and heat resistance but releases fumes during printing. Beginners should avoid ABS until they have ventilation solutions and experience with bed adhesion challenges.
Filament diameter matters too. Most consumer 3D printers use 1.75mm filament. Check the printer specifications before purchasing.
Quality filament from reputable brands like Hatchbox, Overture, or Inland produces consistent results. Cheap filament often contains inconsistent diameters or moisture contamination that causes failed prints.
Store filament in airtight containers with desiccant packets. Moisture absorption degrades print quality over time, something many beginners learn the hard way.
Setting Up and Running Your First Print
Setting up a 3D printer takes anywhere from 30 minutes to several hours depending on the model. Most budget printers arrive partially assembled.
Follow the manufacturer’s instructions carefully during assembly. Rushed assembly leads to alignment issues that affect every future print. Take time to tighten bolts properly and ensure the frame sits square.
Bed leveling comes next. The gap between the nozzle and bed should allow a piece of paper to slide with slight resistance. Too close, and the filament won’t extrude. Too far, and prints won’t stick. Many 3D printing for beginners tutorials focus heavily on this step because it’s crucial.
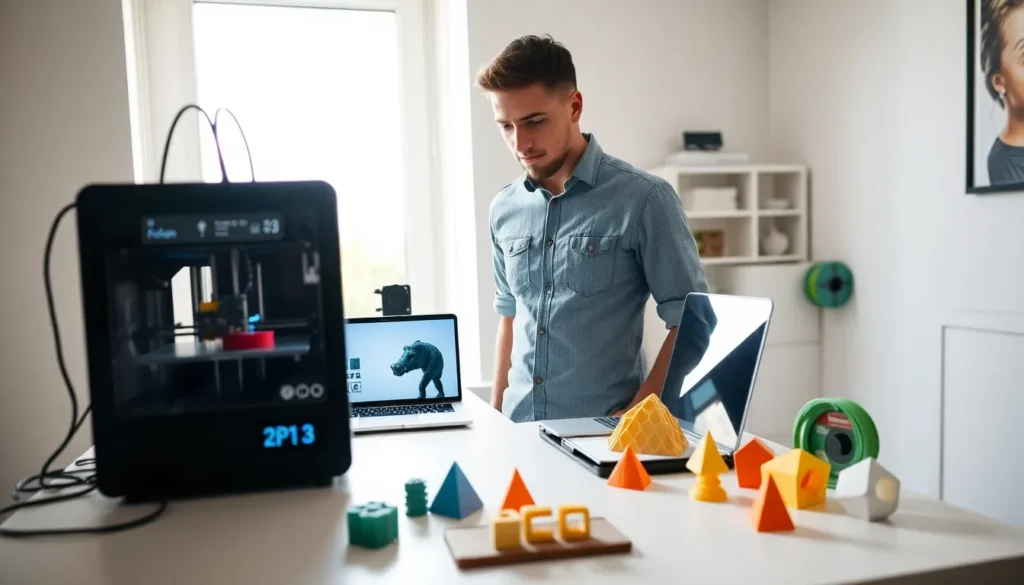
For a first print, choose something simple:
- Download a test model like a calibration cube or benchy boat
- Import the file into slicer software (Cura works great for beginners)
- Use default settings for the specific filament type
- Slice the model and transfer the file to the printer
- Load filament and start the print
Watch the first few layers closely. If the filament doesn’t stick or looks uneven, stop and adjust. Those initial layers determine whether the entire print succeeds or fails.
Patience matters during this learning phase. 3D printing rewards attention to detail and willingness to troubleshoot.
Common Beginner Mistakes to Avoid
Everyone makes mistakes when learning 3D printing. Recognizing common pitfalls helps beginners progress faster.
Skipping bed leveling: This causes more failed prints than any other issue. Check the level before starting print sessions, especially after moving the printer.
Printing too fast: Slower speeds produce better results. Start with recommended speeds and increase gradually once comfortable with the process.
Ignoring temperature settings: Different filaments need different temperatures. Even the same material from different brands may require adjustments of 5-10 degrees.
Poor adhesion solutions: A clean bed surface prevents adhesion problems. Isopropyl alcohol removes oils and residue effectively. Some users add glue stick or hairspray for extra grip.
Choosing complex first projects: That detailed dragon sculpture looks amazing, but it’s a terrible first print. Start with simple geometric shapes. Build skills before attempting intricate designs.
Not using supports: Overhangs greater than 45 degrees usually need support structures. The slicer can generate these automatically.
3D printing for beginners involves a learning curve. Failed prints aren’t failures, they’re lessons. Each problem solved adds to a growing knowledge base that makes future projects easier.