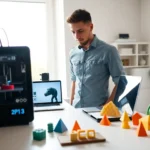

Learning how to 3D printing works opens doors to creating custom objects at home. From prototypes to replacement parts, this technology puts manufacturing power in anyone’s hands. But getting started can feel overwhelming, different printer types, confusing software options, and technical settings create a steep learning curve.
This guide breaks down everything beginners need to know. It covers printer selection, software basics, setup steps, and practical tips for success. By the end, readers will have a clear path from unboxing their first printer to holding a finished 3D print.
Table of Contents
ToggleKey Takeaways
- 3D printing builds objects layer by layer from digital files, with FDM (Fused Deposition Modeling) being the easiest method for beginners to learn.
- Entry-level FDM printers like the Creality Ender 3 cost $200–$400 and offer large online communities for troubleshooting support.
- Free slicer software such as Cura or PrusaSlicer converts 3D models into printer instructions, making them essential tools for anyone learning how to 3D printing works.
- Proper bed leveling and cleaning with isopropyl alcohol are critical first steps for successful prints that stick properly.
- Start with simple test models like the “Benchy” boat, use default settings, and adjust one variable at a time as your experience grows.
- Document your successful settings for different filaments to create a personal reference that speeds up future 3D printing projects.
Understanding the Basics of 3D Printing
3D printing builds physical objects layer by layer from digital files. A printer reads a design, heats material (usually plastic filament), and deposits it in precise patterns. Each layer bonds to the one below, gradually forming a complete object.
The most common 3D printing method for beginners is FDM (Fused Deposition Modeling). FDM printers melt thermoplastic filament and push it through a heated nozzle. The nozzle moves along X and Y axes while the print bed moves on the Z axis. This creates objects from the bottom up.
Another popular option is resin 3D printing, which uses liquid photopolymer cured by UV light. Resin printers produce smoother surfaces and finer details. But, they require more post-processing and safety precautions.
Key terms every beginner should know:
- Filament: The plastic material fed into FDM printers. PLA and PETG are popular choices.
- Print bed: The flat surface where objects are built.
- Slicing: Converting a 3D model into printer instructions.
- Layer height: The thickness of each printed layer, affecting detail and print time.
Understanding how to 3D printing works at this fundamental level makes troubleshooting easier later. Most problems trace back to temperature, speed, or bed adhesion issues.
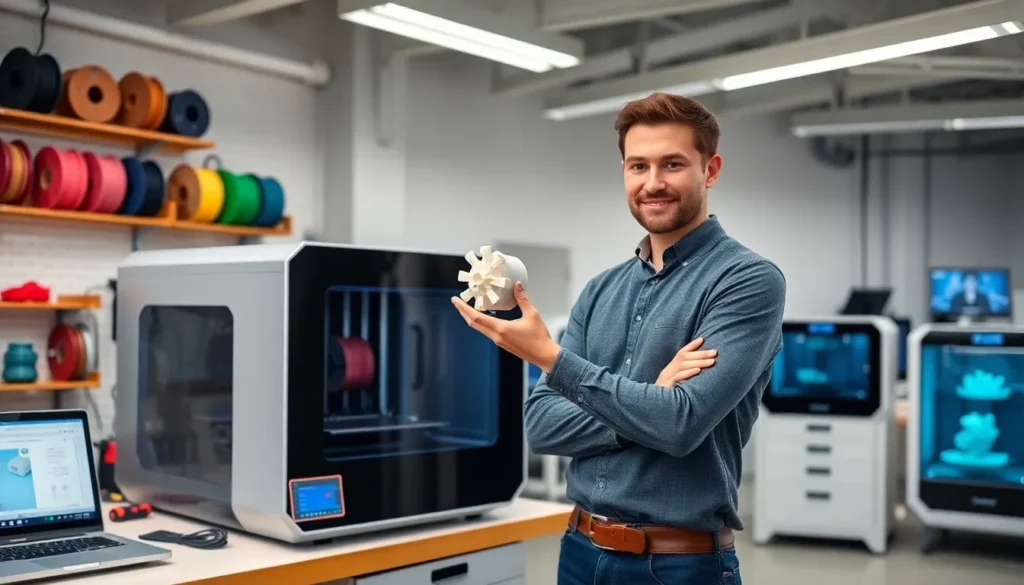
Choosing Your First 3D Printer
Selecting the right 3D printer depends on budget, intended use, and willingness to tinker. Entry-level FDM printers cost between $200 and $400. They handle most hobby projects well.
For beginners learning how to 3D printing fits their needs, FDM printers offer the easiest starting point. They use affordable materials, require minimal safety equipment, and have large online communities for support.
Budget FDM Options
The Creality Ender 3 series remains a popular first printer. It costs around $200, has a decent build volume, and benefits from countless tutorials online. The Bambu Lab A1 Mini offers a more refined experience at a higher price point, with automatic bed leveling and faster print speeds.
Resin Printers for Detail Work
If miniatures, jewelry, or dental models are the goal, resin printers make sense. The Elegoo Mars series provides good quality under $300. Keep in mind that resin requires ventilation, gloves, and UV curing equipment.
What to Look For
- Build volume: Larger volumes print bigger objects but cost more.
- Auto bed leveling: Saves time and frustration for beginners.
- Heated bed: Essential for materials beyond basic PLA.
- Community support: Active forums mean faster problem-solving.
Don’t overspend on a first printer. A mid-range machine teaches the same fundamentals as expensive models.
Essential Software and File Formats
3D printing requires two software categories: design programs and slicers. Design software creates or modifies 3D models. Slicers convert those models into instructions the printer understands.
Design Software
Beginners don’t need professional CAD programs. Tinkercad offers a free, browser-based option perfect for simple designs. It uses drag-and-drop shapes and requires no installation.
For more advanced work, Fusion 360 provides free personal licenses. It handles precise mechanical parts and complex assemblies. Blender works well for organic shapes and artistic projects.
Many beginners skip designing entirely at first. Websites like Thingiverse, Printables, and MyMiniFactory host millions of free models ready for download.
Slicer Software
Slicers are essential for anyone learning how to 3D printing actually happens. They take STL or 3MF files and generate G-code, the language printers read.
Popular free slicers include:
- Cura: Works with most FDM printers, extensive settings control.
- PrusaSlicer: Excellent presets and regular updates.
- Bambu Studio: Required for Bambu Lab printers, user-friendly interface.
File Formats
- STL: The standard format for 3D printing models.
- 3MF: Newer format that includes color and material data.
- G-code: The final output from slicers, containing movement instructions.
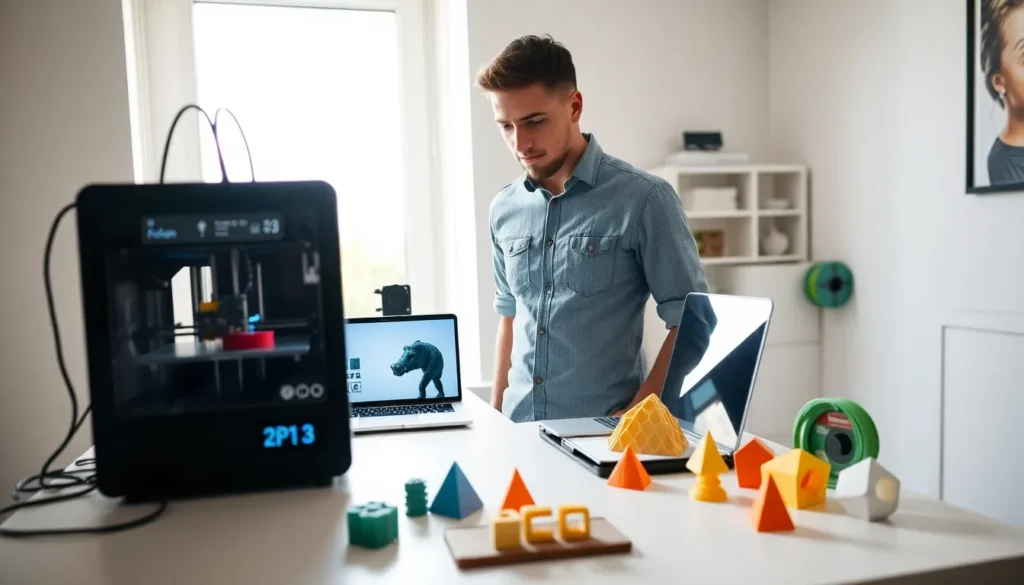
Start with pre-made models and default slicer settings. Adjust variables one at a time as experience grows.
Setting Up and Running Your First Print
Most 3D printers arrive partially assembled. Budget an hour or two for setup, following the manufacturer’s instructions carefully.
Assembly and Calibration
Connect frame components, install the print head, and route cables as directed. Then comes the critical step: bed leveling. The gap between nozzle and bed determines whether prints stick properly.
Many modern printers include automatic bed leveling. Manual leveling uses a piece of paper, slide it between the nozzle and bed at multiple points, adjusting until slight resistance occurs at each location.
Loading Filament
Heat the printer to the filament’s recommended temperature (usually 200-220°C for PLA). Feed filament through the extruder until it flows from the nozzle. Wipe away any excess.
Preparing the First Print
Download a simple test model, the classic “Benchy” boat works well. Import it into the slicer, select the printer profile, and slice with default settings. Transfer the file via SD card, USB, or WiFi depending on the printer.
Starting the Print
Clean the print bed with isopropyl alcohol. Start the print and watch the first layer closely. It should look like slightly flattened lines without gaps or bunching. If problems appear, stop and re-level the bed.
First prints often fail. That’s part of learning how to 3D printing works in practice. Each failure teaches something valuable about the process.
Tips for Successful 3D Prints
Consistent success requires attention to several factors. These tips help beginners avoid common frustrations.
Bed Adhesion
Prints that pop off mid-job waste time and filament. Clean beds with isopropyl alcohol before each print. Use glue stick or hairspray on glass beds if needed. A heated bed at 60°C helps PLA stick without warping.
Temperature Settings
Every filament brand behaves slightly differently. Start with the manufacturer’s suggested temperatures. Print temperature towers to find the sweet spot for each material.
Print Speed
Slower speeds produce better quality. Run first layers at 50% of normal speed. Complex models with overhangs benefit from reduced speeds throughout.
Supports and Orientation
3D printers struggle with horizontal overhangs beyond 45 degrees. Enable supports in the slicer for these features. Rotating models to minimize overhangs reduces support waste and improves surface finish.
Maintenance Matters
Keep the print bed clean and check nozzle condition regularly. A clogged or worn nozzle causes under-extrusion. Replace nozzles every few months with heavy use.
Document Everything
Note settings that work well for specific filaments and models. This creates a personal reference that speeds up future prints.
Mastering how to 3D printing produces reliable results takes practice. Start simple, learn from failures, and gradually tackle more ambitious projects.