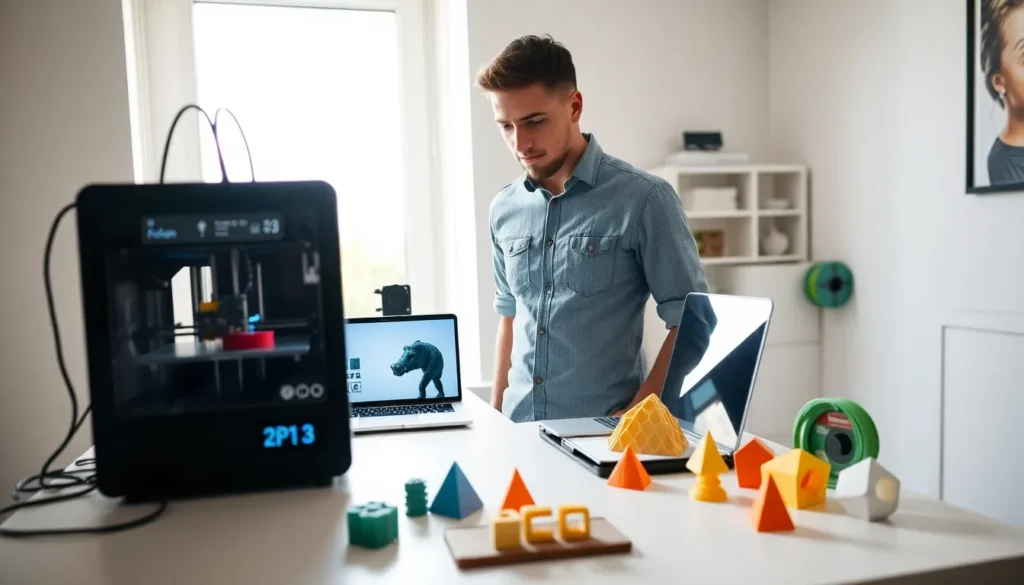

This 3D printing guide covers everything beginners need to start creating physical objects from digital designs. 3D printing transforms ideas into tangible products using layer-by-layer construction methods. The technology has become accessible to hobbyists, educators, and professionals alike. Whether someone wants to print custom prototypes, replacement parts, or creative projects, understanding the basics makes all the difference. This guide explains how 3D printing works, which printer types suit different needs, what materials to use, and how to troubleshoot common issues.
Table of Contents
ToggleKey Takeaways
- 3D printing builds objects layer by layer from digital designs, making it accessible for hobbyists, educators, and professionals alike.
- FDM printers are the best choice for beginners, with entry-level models costing between $150 and $500.
- PLA filament is ideal for starting your 3D printing journey because it prints at lower temperatures and forgives minor calibration errors.
- Proper bed leveling and first-layer adhesion are critical to avoiding print failures.
- Common 3D printing problems like stringing, warping, and under-extrusion have straightforward solutions that save time and materials.
- Slicing software converts your 3D model into printer instructions, controlling layer height, speed, and temperature settings.
What Is 3D Printing and How Does It Work
3D printing, also called additive manufacturing, creates three-dimensional objects by depositing material layer by layer. A digital file, usually a CAD model or downloaded design, tells the printer exactly where to place each layer. The printer reads this file and builds the object from the bottom up.
The process starts with a 3D model. Users can design their own models using software like Tinkercad, Fusion 360, or Blender. Alternatively, they can download ready-made designs from repositories like Thingiverse or Printables. Once the model is ready, slicing software converts it into instructions the printer understands. This sliced file contains layer heights, print speeds, and temperature settings.
Most consumer 3D printers use a heated nozzle that melts plastic filament and deposits it onto a build plate. Each layer bonds to the one below it as the material cools. After hundreds or thousands of layers, the finished object emerges. The entire 3D printing process can take anywhere from thirty minutes to several days, depending on size and complexity.
This technology has transformed product development, education, healthcare, and hobbyist communities. Engineers prototype parts faster. Teachers demonstrate concepts with physical models. Medical professionals create custom surgical guides. Home users print everything from phone stands to cosplay props.
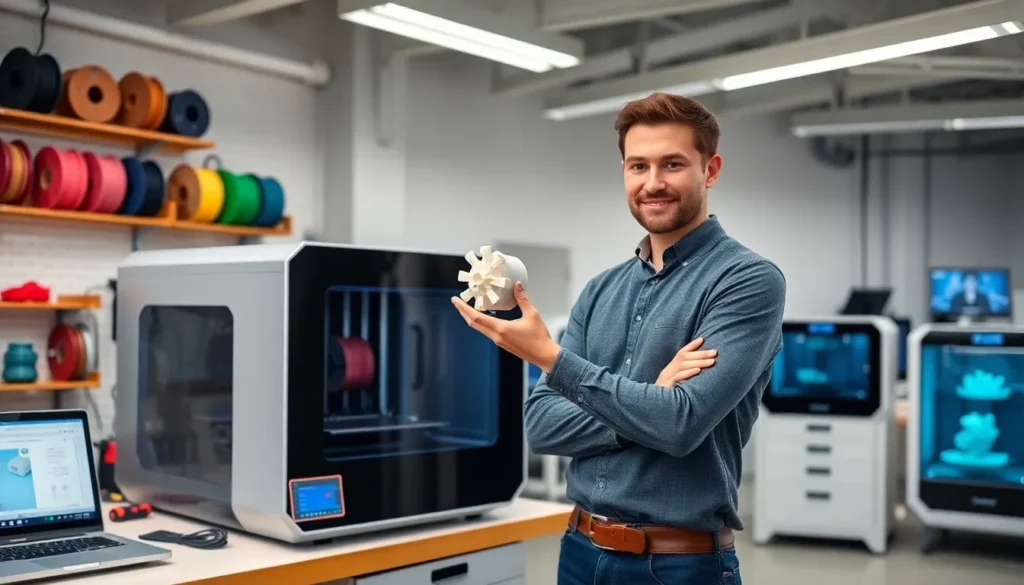
Types of 3D Printers for Beginners and Professionals
Choosing the right 3D printer depends on budget, intended use, and experience level. Three main technologies dominate the market: FDM, resin-based SLA/MSLA, and industrial options.
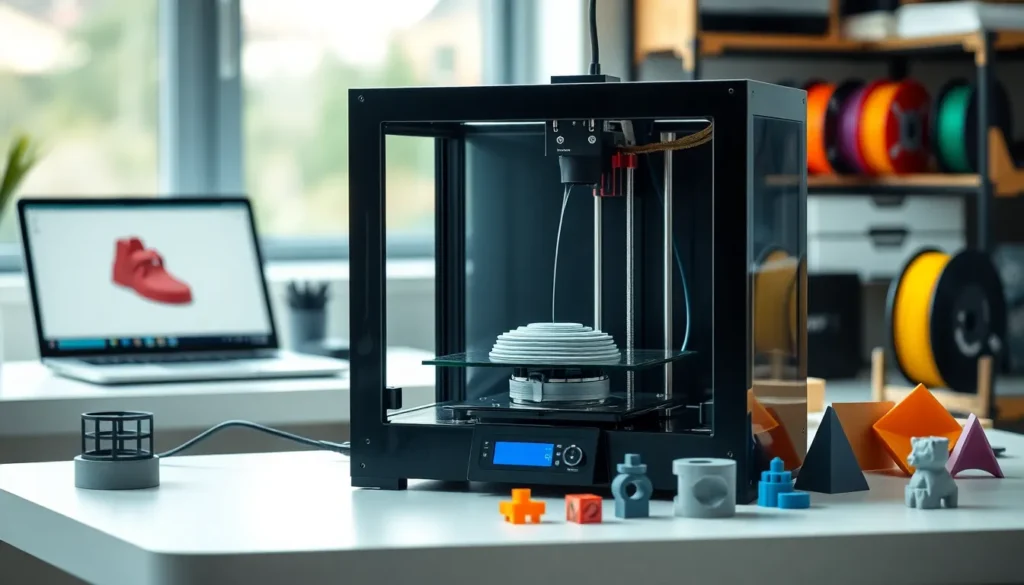
FDM (Fused Deposition Modeling)
FDM printers are the most popular choice for beginners. They melt plastic filament and extrude it through a nozzle. Entry-level FDM printers cost between $150 and $500. Popular models include the Creality Ender 3 series, Anycubic Kobra, and Bambu Lab A1 Mini.
FDM technology works well for functional parts, prototypes, and decorative items. The learning curve is manageable, and filament materials are affordable. Print quality depends on calibration and settings, but most users achieve good results within their first few prints.
Resin Printers (SLA/MSLA)
Resin 3D printers use ultraviolet light to cure liquid photopolymer resin. They produce finer details than FDM printers, making them ideal for miniatures, jewelry, and dental applications. Resin printers cost between $200 and $1,000 for consumer models.
The tradeoff involves messier workflows and additional safety precautions. Users must handle liquid resin carefully, cure finished prints under UV light, and dispose of waste properly. Still, the detail quality makes resin 3D printing worth the extra effort for many hobbyists.
Industrial and Professional Options
Professionals use advanced technologies like SLS (Selective Laser Sintering), which fuses powder materials, or multi-jet fusion systems. These machines cost thousands to hundreds of thousands of dollars but deliver production-quality parts.
Essential Materials and Filaments
The material choice affects print quality, durability, and ease of use. FDM printers use solid filaments, while resin printers require liquid resins.
PLA (Polylactic Acid)
PLA is the go-to filament for beginners. It prints at lower temperatures, doesn’t warp easily, and produces minimal odor. Made from plant-based sources, PLA is biodegradable under industrial conditions. Most 3D printing projects start with PLA because it forgives minor calibration errors.
PETG
PETG offers better strength and flexibility than PLA. It resists moisture and chemicals, making it suitable for functional parts. PETG requires slightly higher print temperatures but remains beginner-friendly.
ABS and ASA
ABS provides excellent durability and heat resistance. But, it warps without an enclosed printer and releases fumes during printing. ASA offers similar properties with better UV resistance for outdoor applications.
Specialty Filaments
Advanced users experiment with TPU (flexible), carbon-fiber composites, and wood-fill filaments. Each material serves specific purposes, TPU for phone cases, carbon fiber for lightweight strength, wood-fill for aesthetic projects.
Resins
Standard resins work for most detailed prints. Tough resins add impact resistance. Water-washable resins simplify cleanup. Users should match resin type to their specific 3D printing application.
Setting Up Your First 3D Print
A successful first print requires proper setup and patience. Following these steps helps beginners avoid frustration.
Step 1: Assemble the printer. Most printers arrive partially assembled. Follow the manufacturer’s instructions carefully. Tighten all bolts and check belt tension.
Step 2: Level the bed. Bed leveling ensures the nozzle maintains consistent distance from the print surface. Many modern printers include automatic leveling, but manual adjustments may still be necessary. The gap between the nozzle and bed should allow a piece of paper to slide through with slight resistance.
Step 3: Load filament. Heat the nozzle to the filament’s recommended temperature. Insert the filament until it extrudes smoothly.
Step 4: Choose a test print. Start with a simple calibration cube or benchy boat. These models test basic printer capabilities without wasting material.
Step 5: Slice the model. Import the STL file into slicing software like Cura, PrusaSlicer, or Bambu Studio. Select appropriate settings for the material. Save the sliced file to an SD card or send it directly to the printer.
Step 6: Monitor the first layers. Watch the initial layers closely. Good first-layer adhesion prevents print failures. Adjust settings if the filament doesn’t stick or squishes too flat.
Patience matters during early 3D printing attempts. Each printer behaves differently, and learning its quirks takes time.
Common 3D Printing Problems and How to Fix Them
Every 3D printing enthusiast encounters issues. Knowing how to troubleshoot saves time and materials.
Poor Bed Adhesion
Prints that don’t stick to the bed often fail completely. Solutions include re-leveling the bed, cleaning the surface with isopropyl alcohol, applying glue stick or hairspray, and increasing first-layer temperature. Some users add brims or rafts in their slicer settings for extra adhesion.
Stringing and Oozing
Thin strings between printed parts indicate retraction problems. Increasing retraction distance and speed usually helps. Lowering print temperature also reduces stringing in many cases.
Layer Shifting
When layers don’t align, the print shows visible horizontal shifts. Loose belts, stepper motor issues, or collisions cause this problem. Tighten belts and ensure nothing obstructs the print head’s movement.
Warping
Prints that lift from the bed at corners or edges have warped. This affects ABS and large PLA prints most often. An enclosed printer, heated bed, and proper first-layer settings reduce warping.
Under-Extrusion
Gaps in layers suggest the printer isn’t pushing enough filament. Clogs, incorrect temperature, or worn nozzles cause under-extrusion. Performing a cold pull clears partial clogs. Replacing the nozzle solves wear issues.
Over-Extrusion
Blobby surfaces with excess material indicate over-extrusion. Calibrating flow rate and checking filament diameter settings fixes this problem.
Most 3D printing problems have straightforward solutions. Online communities provide additional help when standard fixes don’t work.