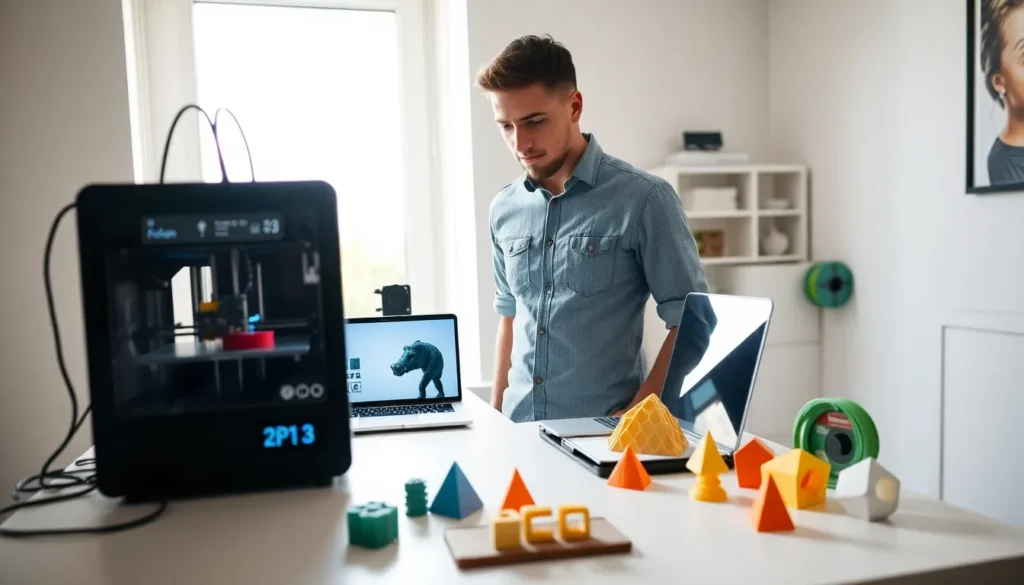

3D printing tips can transform frustrating failed prints into successful projects. Whether someone is new to additive manufacturing or has years of experience, small adjustments often make the biggest difference. A perfectly calibrated machine means nothing if the operator ignores file preparation or skips routine maintenance.
This guide covers the core techniques that separate average prints from exceptional ones. Readers will learn how to prepare files correctly, dial in printer settings, keep their equipment running smoothly, and fix problems when they arise. Each section delivers practical advice that applies to most FDM and resin printers on the market today.
Table of Contents
ToggleKey Takeaways
- Proper file preparation—including mesh repair and model orientation—prevents most 3D printing failures before they start.
- Set layer height between 25% and 75% of your nozzle diameter for optimal print quality and speed balance.
- Print temperature towers to find the ideal settings for each filament brand, as PLA and PETG require significantly different temperatures.
- Regular maintenance like belt tension checks, nozzle inspections, and build plate cleaning extends printer life and prevents failed prints.
- Fix common issues like stringing by adjusting retraction settings (1-2mm for direct drive, 4-6mm for Bowden) and lowering print temperature.
- These 3D printing tips apply to most FDM and resin printers, making them valuable for beginners and experienced users alike.
Prepare Your Print Files Correctly
File preparation determines print quality before the machine even starts. Skipping this step leads to warped models, weak layer adhesion, and wasted filament.
Choose the Right File Format
Most slicers accept STL files, but newer formats like 3MF offer advantages. 3MF files store color data, material settings, and build plate orientation in a single package. They reduce errors caused by corrupted mesh data that sometimes appears in older STL exports.
Repair Mesh Errors Before Slicing
Many 3D models contain holes, inverted normals, or non-manifold edges. These issues cause slicing software to misinterpret geometry. Free tools like Meshmixer or the built-in repair functions in PrusaSlicer can fix most problems in seconds. Running a mesh analysis before printing saves hours of troubleshooting later.
Orient Models for Strength and Quality
Part orientation affects both structural integrity and surface finish. Layer lines create weak points when force is applied perpendicular to them. Rotating a model so that stress loads align with layer direction improves durability. Overhangs also print cleaner when positioned at angles below 45 degrees.
Scale and Position Accurately
Double-check dimensions before slicing. A model designed in millimeters will print incorrectly if the slicer interprets values as inches. Centering prints on the build plate promotes even heat distribution and reduces warping on larger objects.
Optimize Your Printer Settings
Proper printer settings turn good hardware into great results. These 3D printing tips focus on the adjustments that matter most.
Set Layer Height Based on Goals
Thinner layers produce smoother surfaces but increase print time. A 0.1mm layer height works well for display models. Functional parts often look fine at 0.2mm or 0.3mm. Matching layer height to nozzle size matters too, most printers perform best when layer height stays between 25% and 75% of nozzle diameter.
Dial In Temperature Settings
Every filament brand behaves differently. PLA typically prints well between 190°C and 220°C, while PETG needs 230°C to 250°C. Printing a temperature tower helps identify the sweet spot for each spool. Bed temperature also affects adhesion, 60°C works for PLA, and 80°C suits PETG.
Adjust Print Speed Thoughtfully
Faster speeds reduce print time but can introduce artifacts. Ringing appears as ghosting near sharp corners when speeds exceed what the frame can handle. Slowing down to 40-50mm/s often eliminates these issues on budget printers. Higher-end machines with linear rails can push 100mm/s or more without quality loss.
Configure Supports and Infill
Tree supports use less material and leave cleaner surfaces than standard supports. For infill, 15-20% works for most prints. Increase to 40% or higher for parts that need to bear loads. Gyroid and cubic patterns offer better strength-to-weight ratios than basic grid infill.
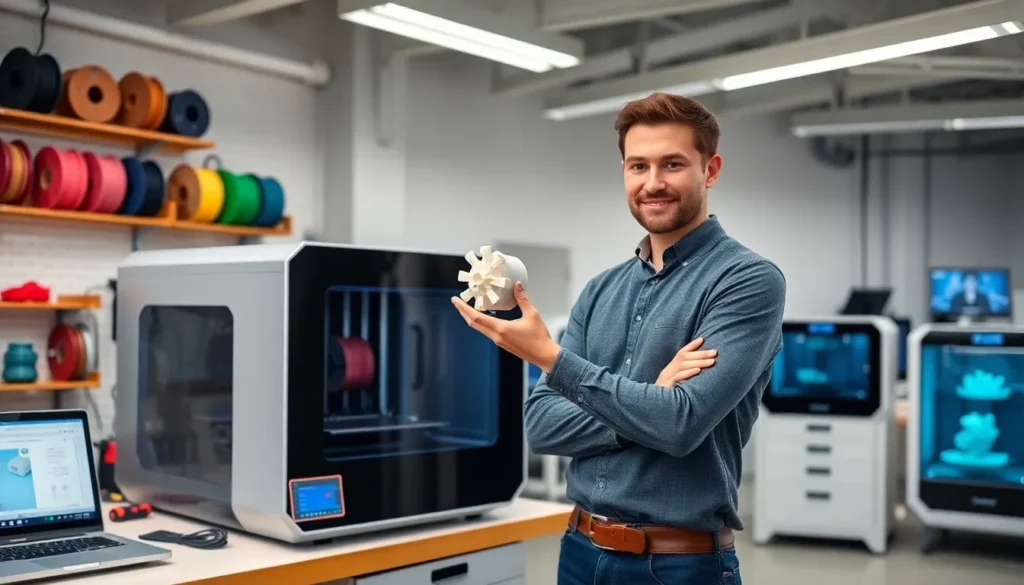
Maintain Your 3D Printer Regularly
Consistent maintenance prevents failures and extends machine life. These 3D printing tips keep equipment in top condition.
Clean the Build Surface
Oils from hands and residue from previous prints reduce bed adhesion. Wiping the build plate with isopropyl alcohol before each print creates a clean bonding surface. Glass and PEI sheets benefit from occasional deep cleaning with dish soap and water.
Check Belt Tension
Loose belts cause layer shifting and dimensional inaccuracy. Belts should feel firm but not guitar-string tight. Most printers use GT2 belts that stretch slightly over time. A monthly tension check catches problems before they ruin prints.
Lubricate Moving Parts
Linear rods and lead screws need periodic lubrication. White lithium grease works well for lead screws, while PTFE-based lubricants suit linear bearings. Over-lubricating attracts dust, so applying thin coats every few months is better than heavy applications.
Inspect the Nozzle and Hotend
Partial clogs degrade print quality gradually. Cold pulls (also called atomic pulls) remove debris stuck inside the hotend. Brass nozzles wear down after approximately 500 hours of printing, especially with abrasive filaments like carbon fiber or glow-in-the-dark materials. Keeping spare nozzles on hand prevents unexpected downtime.
Troubleshoot Common Printing Problems
Even experienced users encounter issues. These 3D printing tips address the most frequent problems.
First Layer Won’t Stick
Poor bed adhesion usually stems from incorrect Z-offset or a dirty build plate. Adjusting the Z-offset so the nozzle slightly squishes the first layer into the bed improves grip. Glue sticks, hairspray, or specialized adhesion products help with difficult materials like ABS or nylon.
Stringing Between Parts
Thin strings of plastic appear when the nozzle oozes during travel moves. Increasing retraction distance (typically 1-2mm for direct drive, 4-6mm for Bowden setups) pulls filament back before the nozzle moves. Lowering print temperature also reduces stringing by making the plastic less runny.
Layer Separation and Cracking
Layers that don’t bond properly create weak prints. This happens when layers cool too much before the next layer deposits. Increasing hotend temperature by 5-10°C often solves the issue. Enclosing the printer helps with ABS and other materials prone to warping from drafts.
Warping at Corners
Large flat prints tend to curl at edges as they cool. A heated enclosure minimizes temperature gradients. Brims add surface area that keeps corners anchored to the bed. Reducing bed temperature slightly during the final layers can also prevent corners from lifting.